How to Use Doppler to Manage Secret Tokens in a Dockerized Application


Have you always wondered how to securely store your secrets and environment variables in your application? Then you’ve come to the right spot!
Managing and storing secrets to avoid data breaches in your application is a matter of great concern. To ensure that these secrets are secure, you need the service of a Secret Manager.
These secrets could be your User credentials or your Database Configuration that could have security vulnerabilities if not well managed in your application. This is the major reason why you need a centralized place to manage all your secrets as you keep building more complex applications.
In this article, I will give a hands-on demonstration of the implementation of Doppler in managing secret tokens for a Dockerized application. This tutorial will be focused on teaching beginners how to use Doppler Secret Manager to configure and manage the secret tokens and environment variables in their Dockerized applications. Without further ado, let’s begin!
INTRODUCING THE DOPPLER SECRET MANAGER
The Doppler Secret Manager provides you with this centralized place to manage and store all your secrets securely in your applications. There are other benefits of using the Doppler Secret Manager such as; inhibiting the sharing of secret tokens across platforms like Github, creating a centralized configuration for the secret tokens, and the ease of managing the secret tokens.
For this tutorial, I will be using a Dockerized Nodejs application that has its environment variables and secrets stored in a ‘.env’ file. This Nodejs application was built with MongoDB and hosted on Heroku.
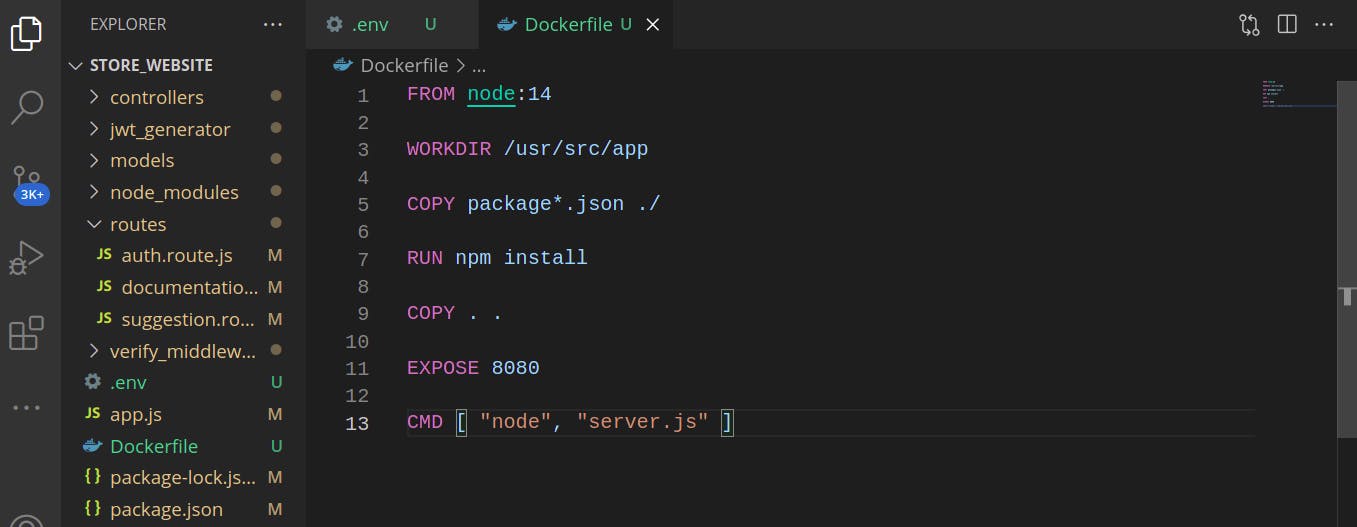
In this application, the secrets and environment variables are hardcoded in the ‘.env’ file.

This article focuses on using Doppler to manage the secrets and environment variables in the application. So, we will be moving our secrets and environment variables from the local ‘.env’ file to Doppler.
Integrating Doppler into the Application
Some of the benefits of using Doppler have already been mentioned in the introductory part of this article. Other benefits of using Doppler include:
- Replacing the need to hardcode secrets and environment variables into the application.
- Providing you with a simple dashboard to centralize your application’s configuration.
- Allowing you access to your secrets ranging from the development to production environments.
- Allowing integration with Cloud Provider Services like AWS.
Let’s begin with using Doppler in our application.
Creating an Account
The first step to set up your application in Doppler is to create an account by visiting the Doppler website here. The following window will be opened:
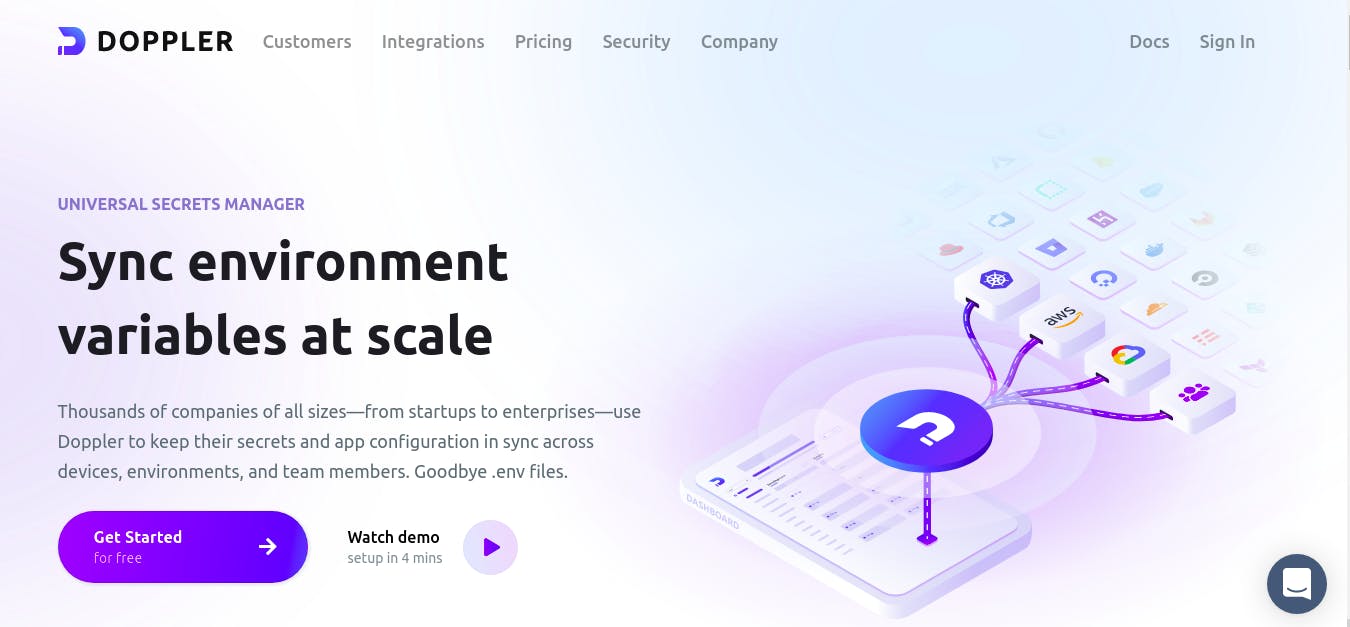
Click on the ‘Sign in’ link and you will be prompted to create an account. Afterward, you could click on the ‘Watch demo’ link which is a 4 minutes video presentation showing how to quickly set up your project with Doppler from local development to production.
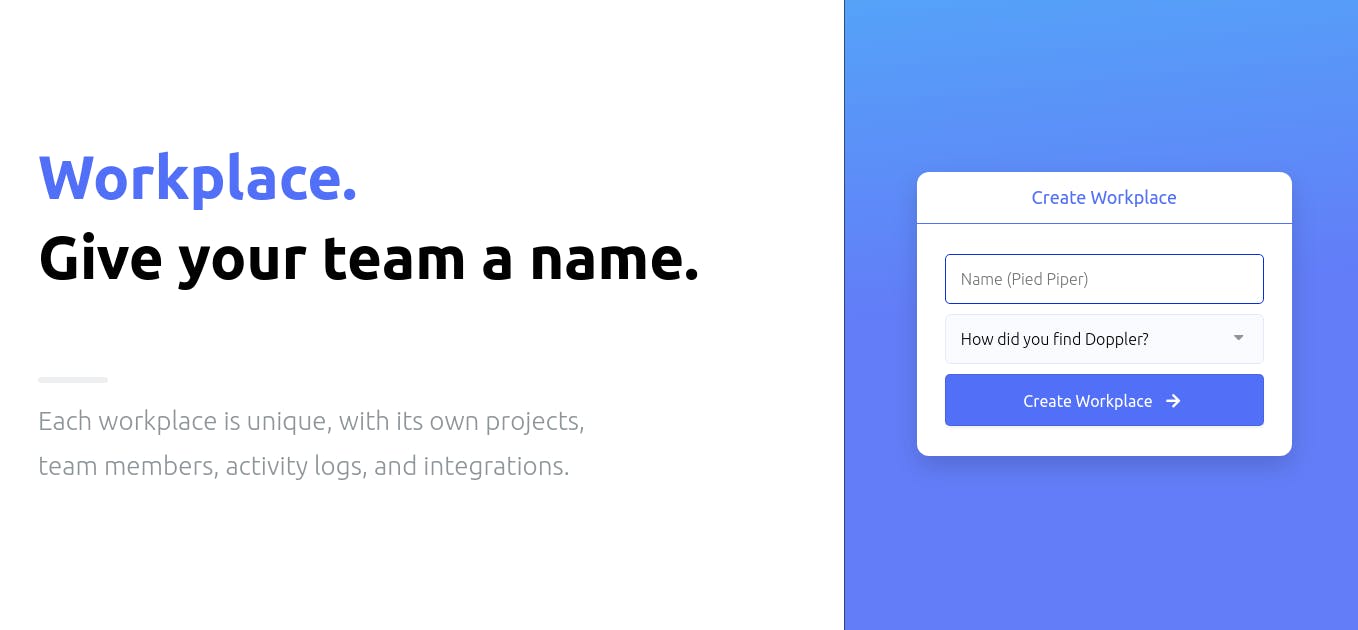
Then, click on the ‘Get Started for free’ button to create your workplace. A window will be opened prompting you to enter some information, like the name you would like to call your workplace.
Creating the Project
After creating your workplace, there will be a walkthrough to guide you through creating your project. A dashboard will be opened for you to create your project as follows:
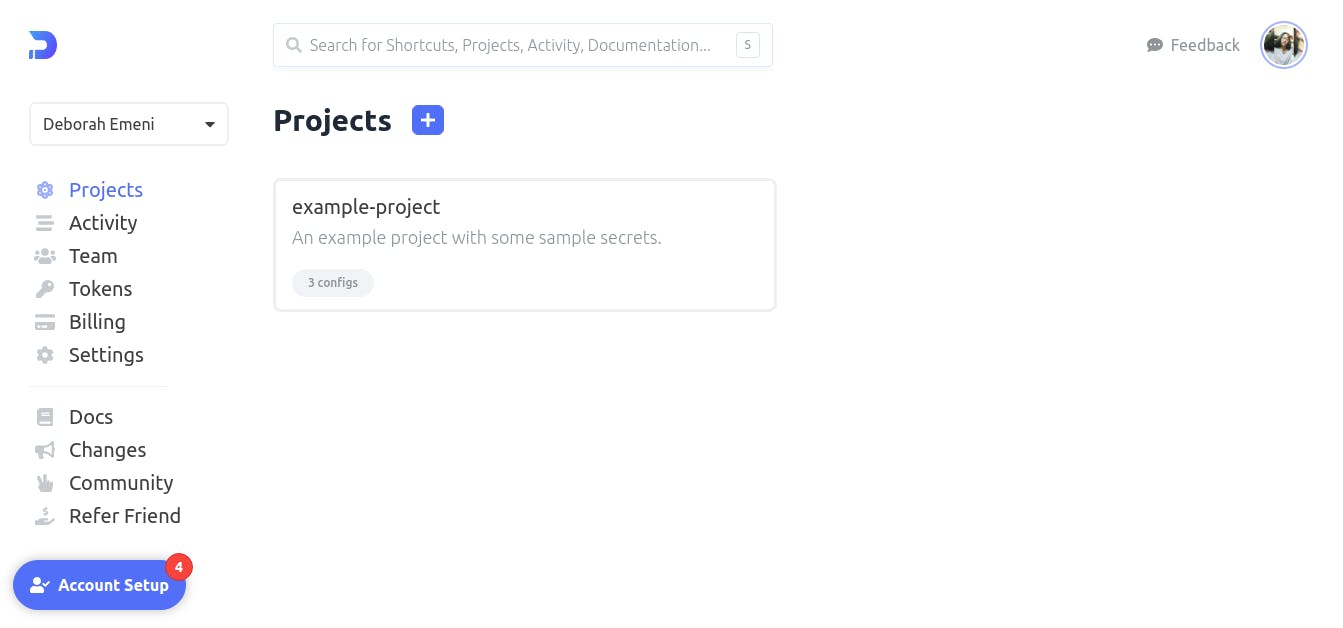
You would notice from the dashboard that Doppler already provides you with an example-project. Now, let us create the project by clicking on the ‘blue plus sign next to the word ‘Projects’. You will be prompted to specify a name and description for your project as follows:
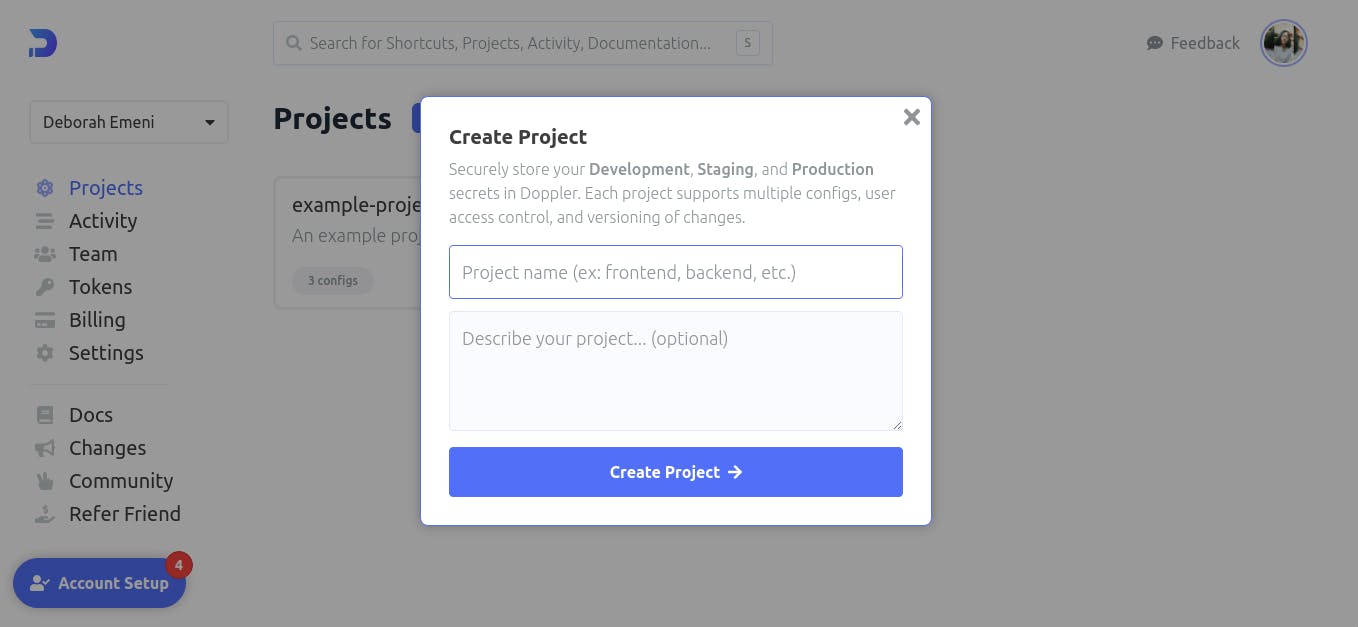
You can choose to name the project whatever you want but for this tutorial, we will be naming this project “application”. Then, we could describe the project as “Using Doppler in the application”. Once you have entered this information, click on the ‘Create Project →’ button.
Doppler creates a workspace for your project and provides you with three environments to work with; the Development, Staging, and Production environments. Here, we will manage the secrets and environment variables from our application.

Working with the Doppler CLI
As we have been setting up our workplace for our project, you may have seen or come across the name ‘Doppler CLI’ which can be used with Docker. The Doppler CLI as the name implies is the Command-Line Interface provided by Doppler to give access to your secrets in all the environments ranging from development, stage to production.
The Doppler CLI can be installed by running some commands in your terminal. In this tutorial, I am using Ubuntu Operating System so if your Operating system differs, please visit the Doppler Documentation. So, to install the Doppler CLI, open your terminal and run the following commands in the order specified in the code block:
# Install pre-reqs
sudo apt-get update && sudo apt-get install -y apt-transport-https ca-certificates curl gnupg

# Add Doppler's GPG key
curl -sLf --retry 3 --tlsv1.2 --proto "=https" 'https://packages.doppler.com/public/cli/gpg.DE2A7741A397C129.key' | sudo apt-key add -

# Add Doppler's apt repo
echo "deb https://packages.doppler.com/public/cli/deb/debian any-version main" | sudo tee /etc/apt/sources.list.d/doppler-cli.list

# Fetch and install the latest doppler cli
sudo apt-get update && sudo apt-get install doppler
Note that you may encounter an error if you are using Ubuntu to install the Doppler CLI when you run the first command:
File has unexpected size (48295 != 48535). Mirror sync in progress? [IP: 13.79.133.120 80] Hashes of expected file: ubuntu
To fix this error, run the following command in your terminal to install the software-properties-gtk:
sudo apt install software-properties-gtk
Then, type software-properties-gtk in your terminal and this will be displayed on the screen as shown:
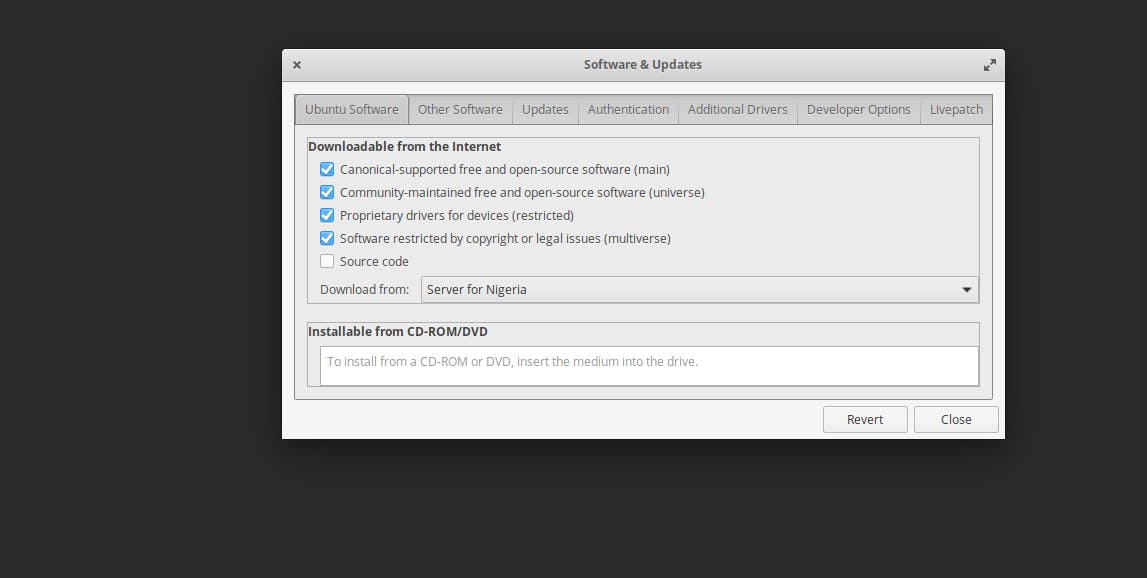
From the ‘Download’ options, choose ‘Main server’ and click on the ‘Close’ button. You will be prompted to reload the changes by clicking the ‘reload’ button which will start downloading or updating the cache immediately. Once it is done, you can try running the command above again. For reference, this command here:
# Install pre-reqs
sudo apt-get update && sudo apt-get install -y apt-transport-https ca-certificates curl gnupg
Now, the command will run successfully. The next step is to run the second command:
# Add Doppler's GPG key
curl -sLf --retry 3 --tlsv1.2 --proto "=https" 'https://packages.doppler.com/public/cli/gpg.DE2A7741A397C129.key' | sudo apt-key add -
To confirm that this command was successful, you will notice ‘OK’ been logged immediately after the Doppler’s GPG key is added.
Next, to confirm that you have the Doppler CLI installed, run this in your terminal:
doppler --version
If the version of the doppler is printed to the screen, then the installation of the Doppler CLI was successful!

Configuring Doppler for the Project
Now that we have Doppler CLI installed, we need to let Doppler gain access to the secrets in our Local Dockerized application. To achieve this, open your terminal and run the following command:
doppler login
After running this command, type ‘Y’ at the prompt and press ‘enter’ for the authorization page to be opened in your browser as follows:

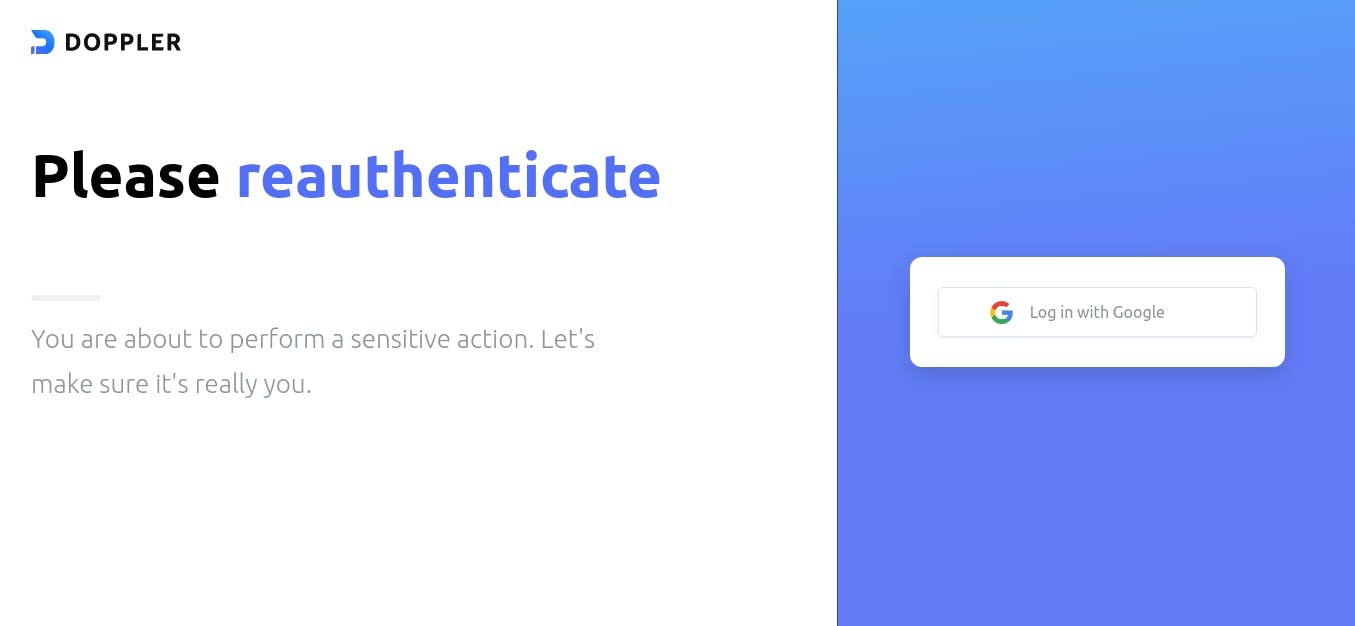
An authorization page will be opened in your browser for authentication because the Doppler CLI requires a token to access your secrets: Click on the ‘Log in with Google’ button for the authentication:
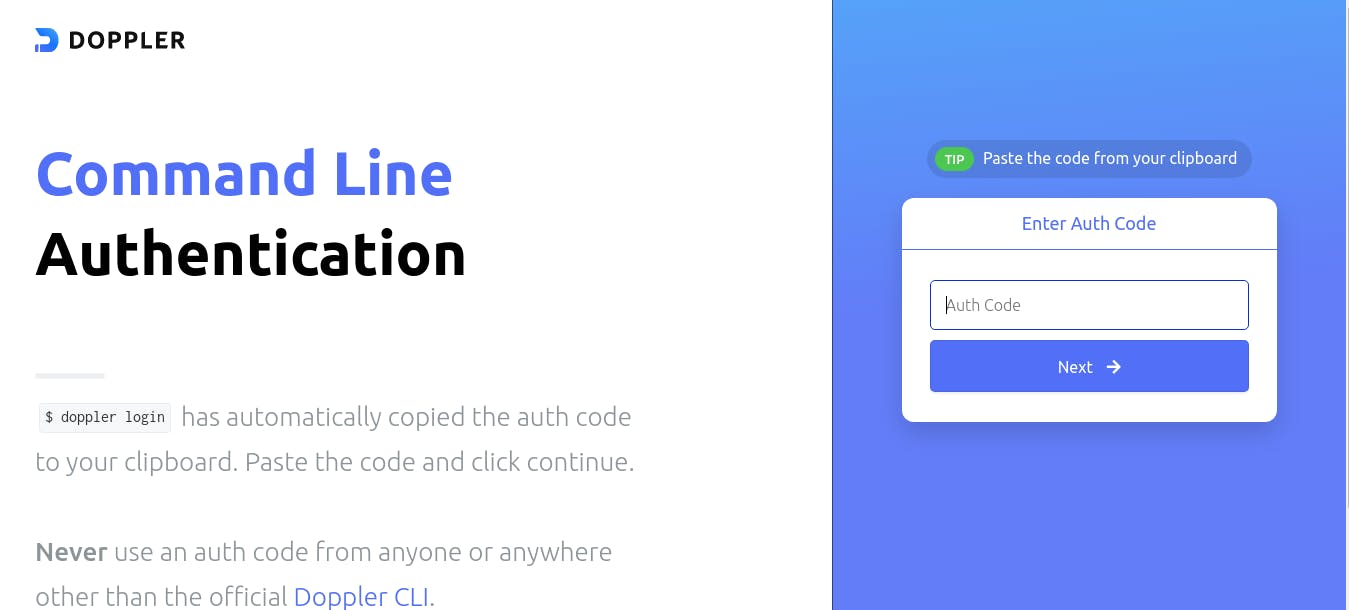
An authentication code was automatically copied to your clipboard when you ran the ‘doppler login’ command. Then, you’ll be expected to paste this authentication code in the window opened as shown below:
Also, note that this authentication code is customized for your use only. Meaning that it can’t be used anywhere else. If there is any delay or you don’t paste the code and enter something else, your login will be timed out as follows:

So, if this happens, you can always run the ‘doppler login’ command again and repeat the process as stated above. Then, another authentication code will be copied to your clipboard.
Another tip I didn’t mention is that the authentication code is not only available via your clipboard but can also be seen logged out in your terminal. Note that, this authentication code can only be used by you, so do not share this code with any other users of doppler trying to log in.
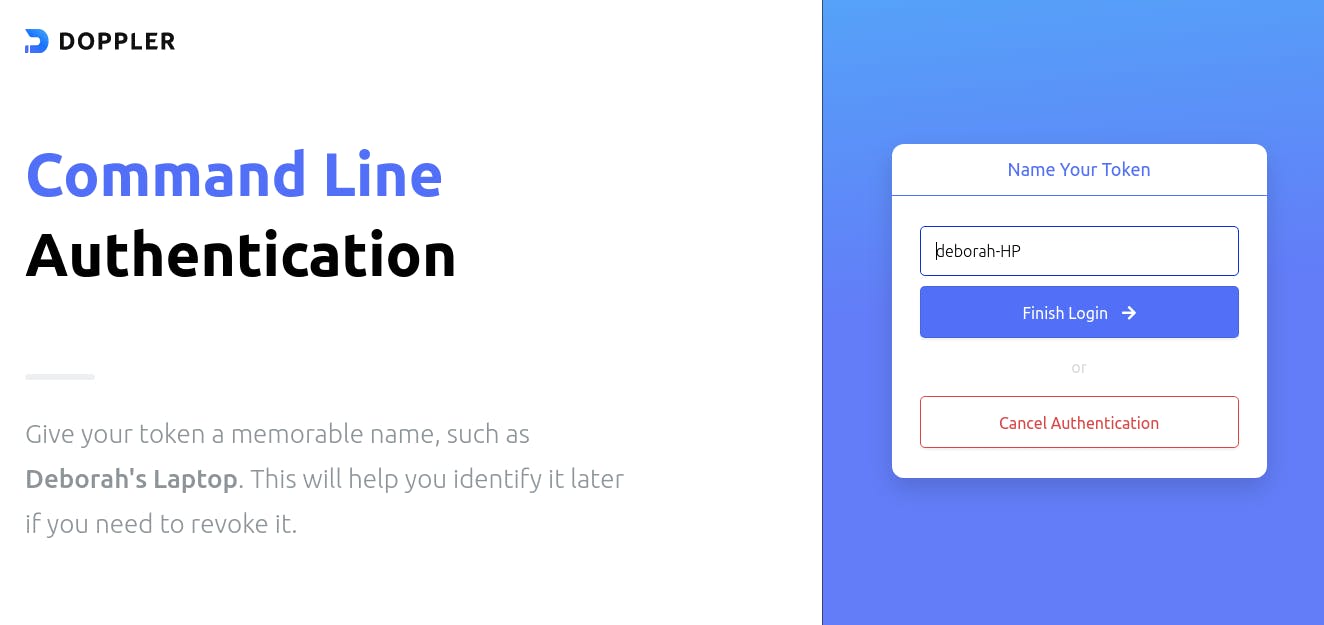
After pasting the code, click on the "Next" button which will lead you to a page asking you to name your token. Note that, the authentication code is your token, so do not get confused by the name switch. You could name your token whatever you choose, then click on the ‘Finish Login’ button:
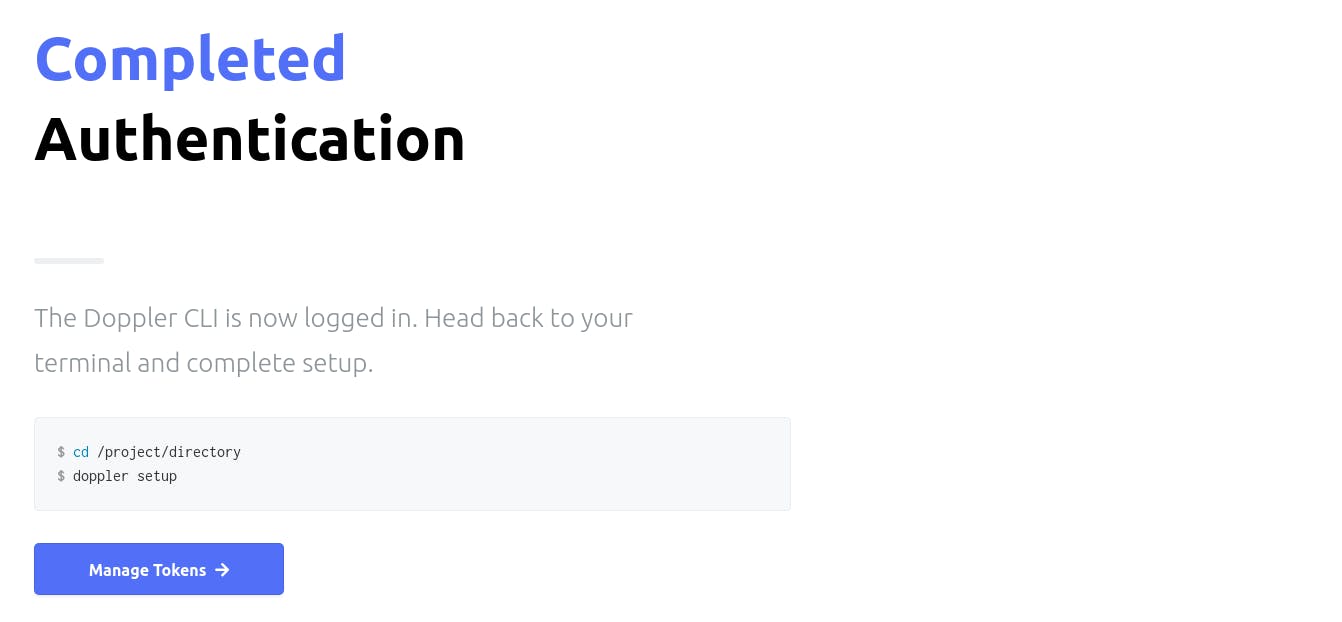
Afterward, a page will be opened telling you that your authentication has been completed. Meaning that the Doppler CLI has logged in successfully and we can begin to set up our project!
Setting up Doppler in the Dockerized Application
Now that the Authentication of the Doppler CLI has been completed, the next thing we need to do is to set up Doppler in our application.
However, note that since we are setting up Doppler to access secrets in our application in local development, we have to be in the application’s directory. So, open your terminal and change into the application’s directory with the following command:
cd name_of_application/
We need to be able to configure the Doppler CLI for use in our application (which is in local development). To achieve this, run the following command inside of the application’s directory
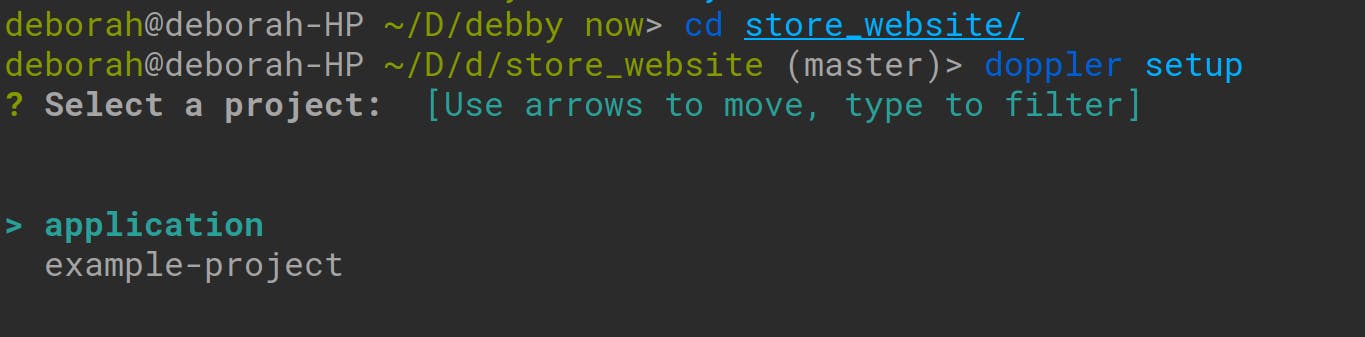
doppler setup
A list of the projects you have created in your doppler workspace will be logged out in your terminal. You’ll also be prompted to choose which of the projects you want to set up with Doppler. Choose the application project by simply pressing ‘enter’ as follows:
Once you choose the ‘application’ project, you’ll be prompted again to select a configuration environment for your application. To choose either from the development, staging,, or production environments:

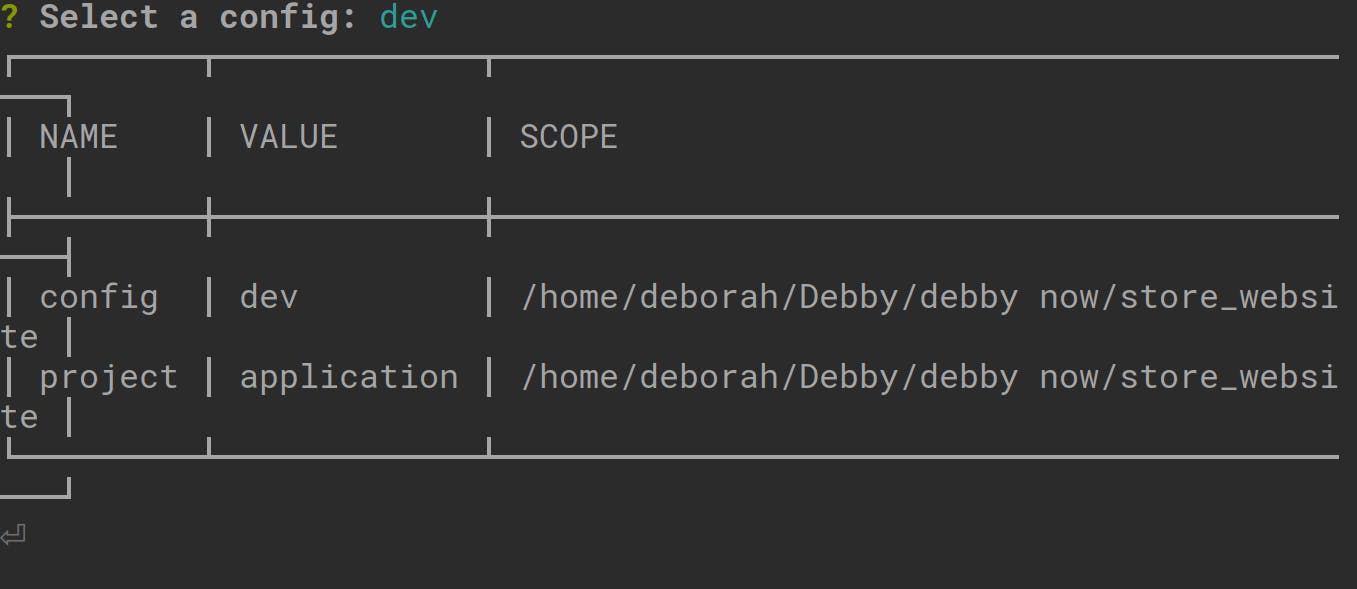
In this tutorial, we are working in the development environment, so we’ll choose the ‘dev’ option. Click ‘enter’ on the first ‘dev’ option in your terminal.
The Name, Value, and Scope of our application will be logged to the console as follows:
There is an alternative for setting a configuration environment for our Doppler project and its simply by creating a file with the .yaml extension in the application’s directory and setting the following: The Project’s name The configuration name It can be set using this structure:
setup:
  project: application
  config: dev
Managing the Secret Tokens of the Project with Doppler
We have set up Doppler in our application and configured it to be in the development environment. The next step we need to take is to add or import our secrets from our application into our project created on doppler.
To achieve this, we’ll first log in, to our workplace and navigate to the following dashboard and choose the development config:
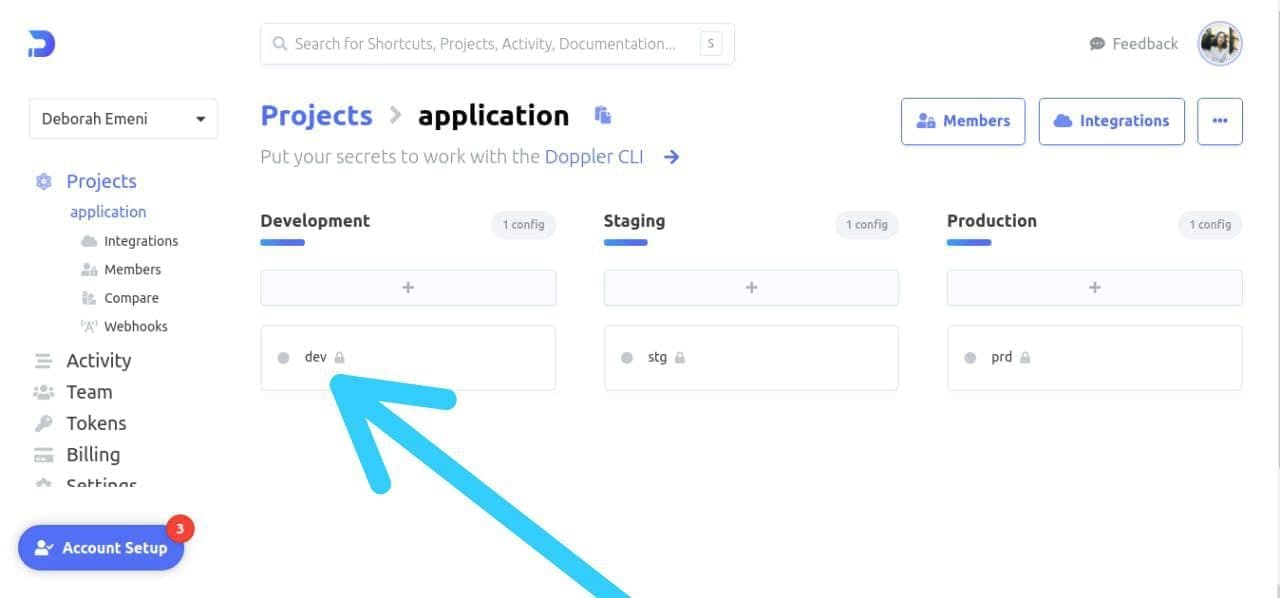
Next, we’ll copy all our secrets and environment variables stored in the ‘.env’ of our Dockerized application. Then, we’ll paste the secrets and environment variables that have been copied, in the root config for
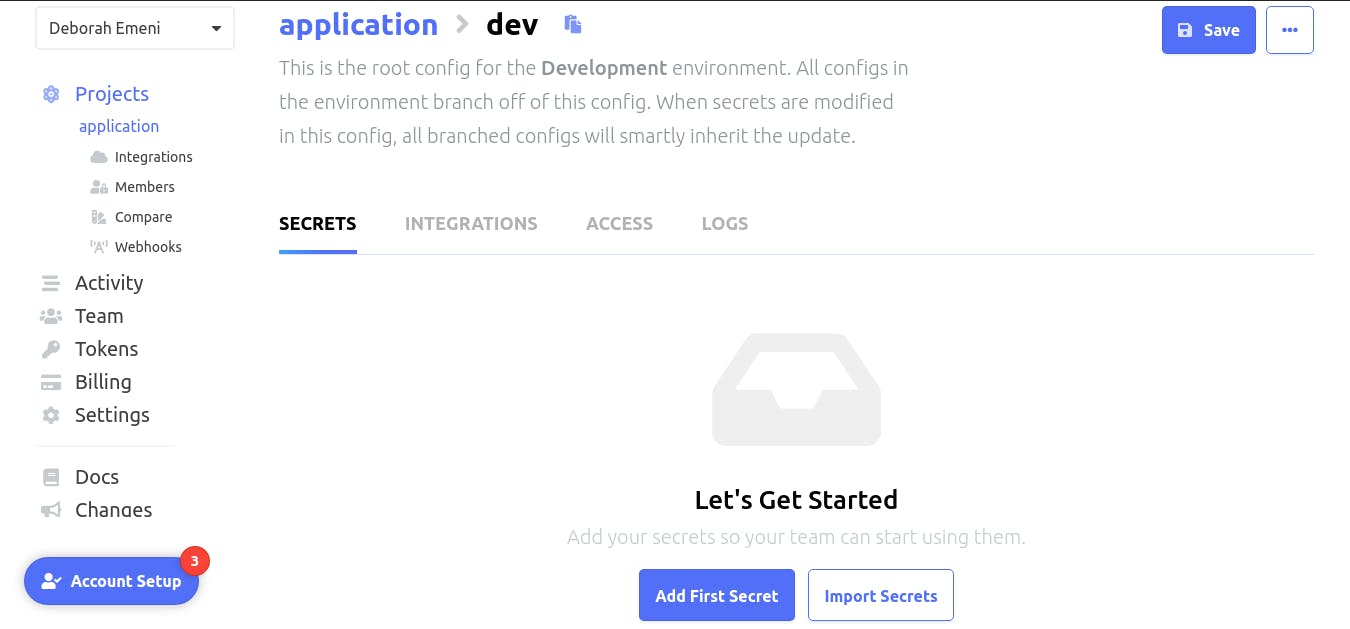
Click on the ‘Add First Secret’ button another page will be opened showing two options to ‘Add Secret’ or ‘Import Secrets’:
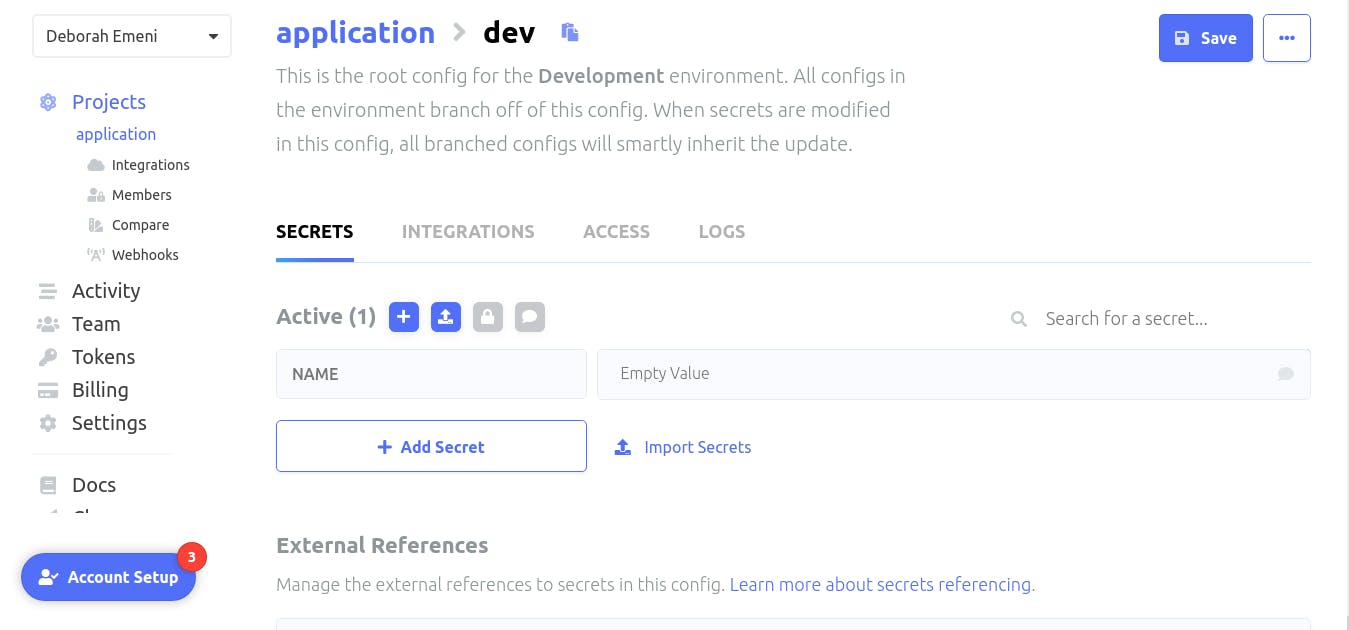
We’ll click on the ‘Import Secrets’ button to import our secrets for our application as shown:
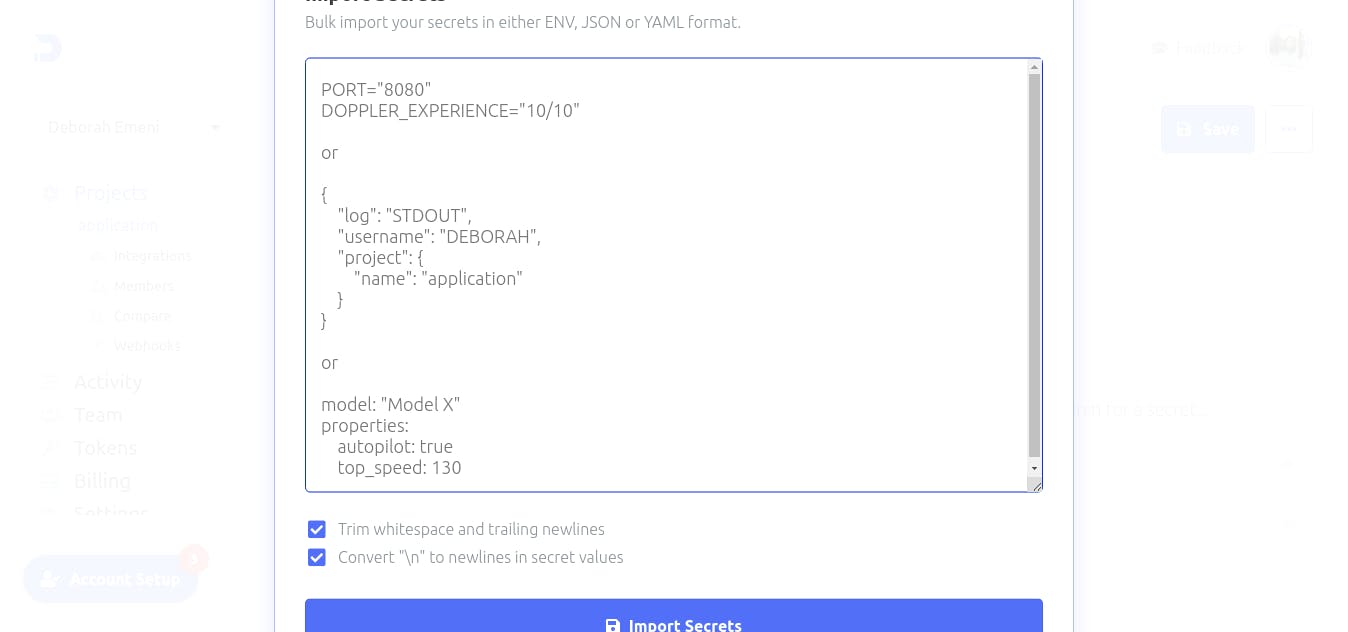
Paste the secrets and environment variables copied from our ‘.env’ file in the provided space above and click on the ‘Import Secrets’ button.
After clicking on the Import Secrets button, our secrets will be automatically stored by Doppler and we will no longer need our ‘.env’ file:
Conclusion
If you’ve worked through all of the demos in this tutorial, you have covered introducing the Doppler Secret Manager, integrating Doppler into the application, creating an account, creating the project, working with the Doppler CLI, setting up Doppler in the Dockerized application, and managing the secret tokens of the project with Doppler. You should now have the knowledge required to do all of the above.
What kind of projects do you think you can now use Doppler to manage its secrets?