
Docker concepts explained using a Cake preparation method & building a Nodejs application with Docker and Nginx.


Introduction
This article focuses on explaining the concept of Docker in a simple and detailed manner. Docker is a very useful tool and a proper understanding of what Docker is and what it is used for is very essential to a Software Developer and DevOps engineer as it makes the Software Development Life Cycle faster and more efficient. To understand what the Software Development Life Cycle and DevOps entails, you can visit my blog with this link simple introduction to devops engineering
In this article, I'd use the cake preparation method to explain Docker in simple terms for a better comprehension. I would also walk you through all the steps to set up a basic Nodejs application with Docker and expose the Docker ports to make your containers externally accessible with Nginx server.
At the end of this article, you should have a better understanding of docker and be able to work with docker.
What is Docker?
Docker is a tool designed to make it easier to create, deploy and run applications by using containers. This definition may sound 'cliche' if you do not know and understand some basic concepts of Docker. Before I explain those concepts, I will give you a brief history of Docker, how Docker came into existence and what solution Docker offers in the Software Development Life Cycle(SDLC).
History of Docker
Before Docker came into existence, Software Developers faced an issue of not having a consistent computing environment through out the Software Development Life Cycle. The applications built by Software Developers would work fine in the Development phase but when the application gets to production, an error would occur or there would be a break in the proper functioning of the application.
You need to understand the concepts of Virtualization and Containerization to be able to understand how docker works. I will give a brief explanation of what they are and do right below.
What is Virtualization? Virtualization is the process of creating virtual versions of network systems, storage devices or an operating system.
What are Virtual machines?A virtual machine is the emulated equivalent of a computer system that runs on top of another system. It can run multiple different operating systems on the hardware of a single physical server.
A Brief explanation of Virtualization and Containerization
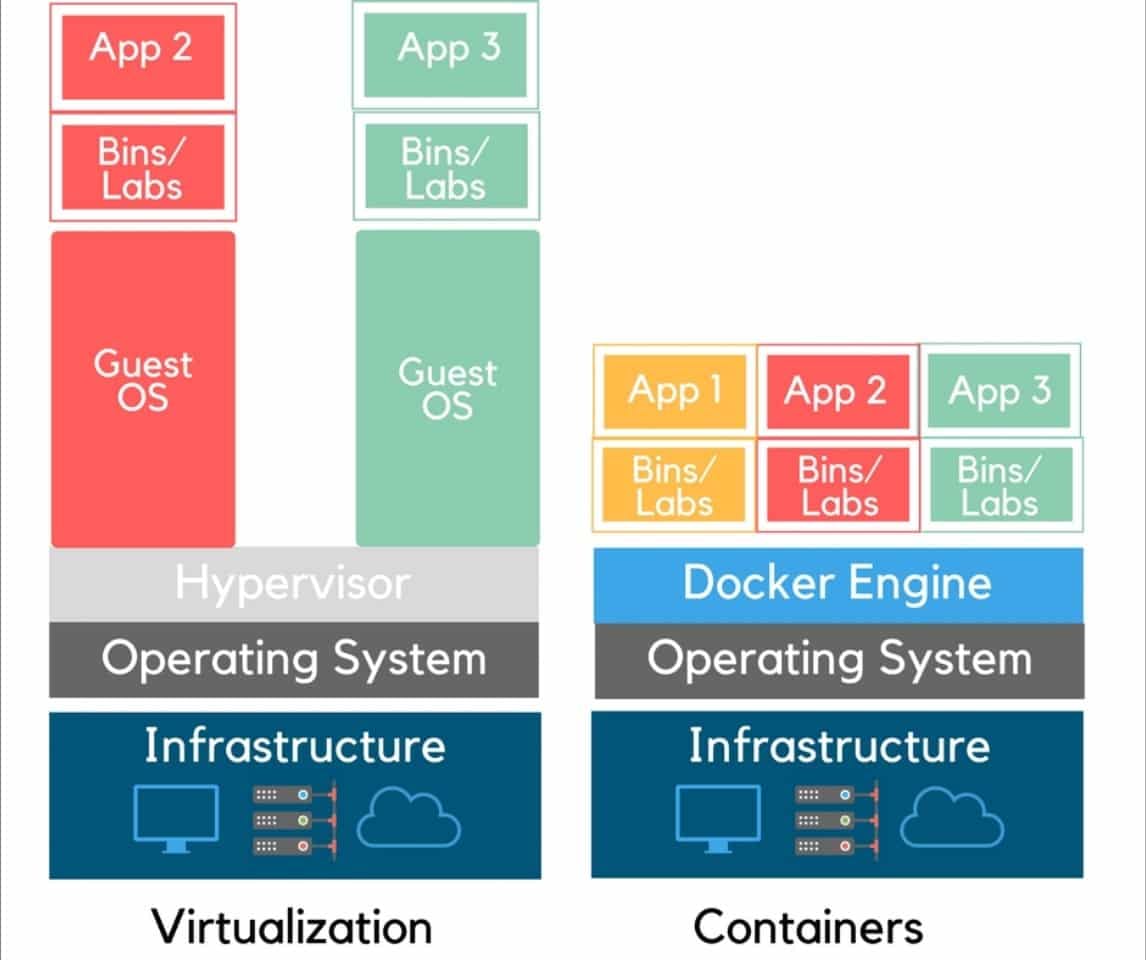
From the above diagram, you can see a distinct difference between Virtualization and Containerization. In Virtualization, you can see the host Operating System resting on the host machine - Infrastructure, you can also see the hypervisor which is resting on the operating system and two Guest Operating Systems with their binaries/libraries and apps running on them.
Here, I'd give a brief definition of the functions of the hypervisor, Guest OS, Binaries/libraries and applications.
- Hypervisor: The hypervisor is a software that lies on the host Operating System that enables multiple Operating Systems to run side by side, as you can see from the diagram above. The hypervisor allows these multiple Operating Systems referred to as Guest OS(Operating Systems) to have access to the same physical server resources. Thereby, sharing these resources.
Guest OS: Guest OS represents the multiple operating systems, it is referred to as guest because it is not a part of the host OS of the host machine or infrastructure.
Bins/Libs: These represent the binaries/libraries, that is, the dependencies the applications run on.
App2 & App3: These are the two applications that are built on top of the Guest Operating Systems.
In other words, Virtualization allows you to run multiple operating systems on the hardware of a single physical server.
Containerization on the other hand, enables you to deploy multiple applications with the same Operating System on a single Virtual machine or server. You may be wondering where the word Container was coined from, it was gotten from containerization. Basically, the tools that enable the containerization process are referred to as Containers. So, Containers are lightweight isolated environments for packaging, testing and deploying applications with all the dependencies and configuration requirements for the app.
Now enough with all the complicated grammar, I figured out a better way to explain Docker would be to use the cake preparation method.
The Docker Architecture explained with the Cake Preparation Method
 I would assume that not everyone is a baker but at least should understand the basic processes in baking cakes. So, in baking cakes, these basic things are required:
- An Oven
- Oven Stove
- Cake Pans
- Cake Recipe
The basic architecture in Docker entails these things:
- A host machine
- A Virtual machine
- Single or Multiple Docker Container(s)
- Micro-services with dependencies
Step 1
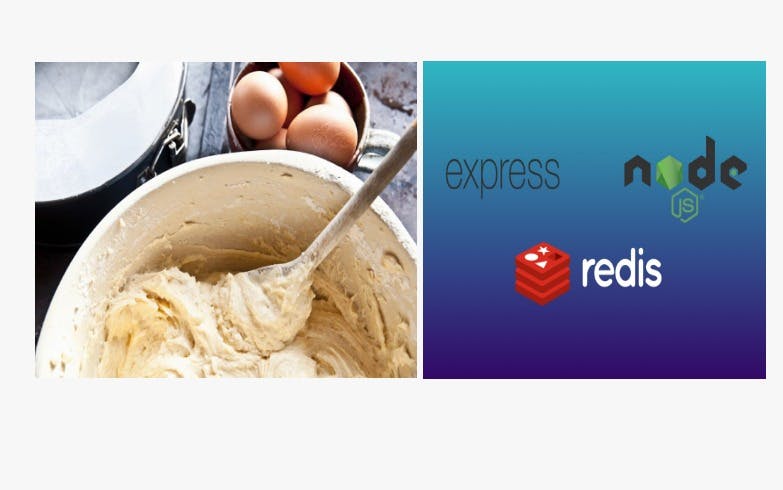 From the diagram above to the left, you have a mixture of your cake ingredients.
To start baking your cakes, you would get your recipe(ingredients) and stir together. Then have your cake mixture.
The diagram to the left represents the dependencies, code, system tools, system libraries and settings you want your application to build on and the project's code.
In Docker, the Developer builds the app with dependencies, code, system tools, system libraries and settings.
From the diagram above to the left, you have a mixture of your cake ingredients.
To start baking your cakes, you would get your recipe(ingredients) and stir together. Then have your cake mixture.
The diagram to the left represents the dependencies, code, system tools, system libraries and settings you want your application to build on and the project's code.
In Docker, the Developer builds the app with dependencies, code, system tools, system libraries and settings.
These mixture of the cake ingredients represent the number of dependencies for your app and the code, system tools, system libraries and settings.. In addition, these dependencies and code are contained in the Docker Containers, which would lead us to the next step in the Docker Architecture.
Step 2
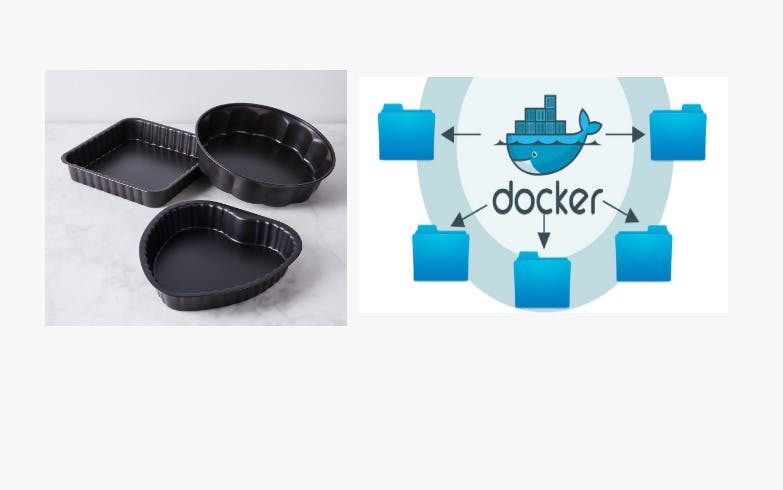 As I mentioned in Step 1, the ingredients (which represent the application's dependencies, code, system tools, system libraries and setting) that was mixed will be put in the cake pans.
These cake pans to the left of the diagram above, represent the Docker Containers to the right of the Diagram.
As I mentioned in Step 1, the ingredients (which represent the application's dependencies, code, system tools, system libraries and setting) that was mixed will be put in the cake pans.
These cake pans to the left of the diagram above, represent the Docker Containers to the right of the Diagram.
The relationship between them is, the ingredients put in the cake pans versus the application's dependencies, code, system tools, system libraries and setting put in Docker Containers.
A Docker container image is a lightweight, standalone, executable package of software that includes everything needed to run an application: code, runtime, system tools, system libraries and settings.
Step 3
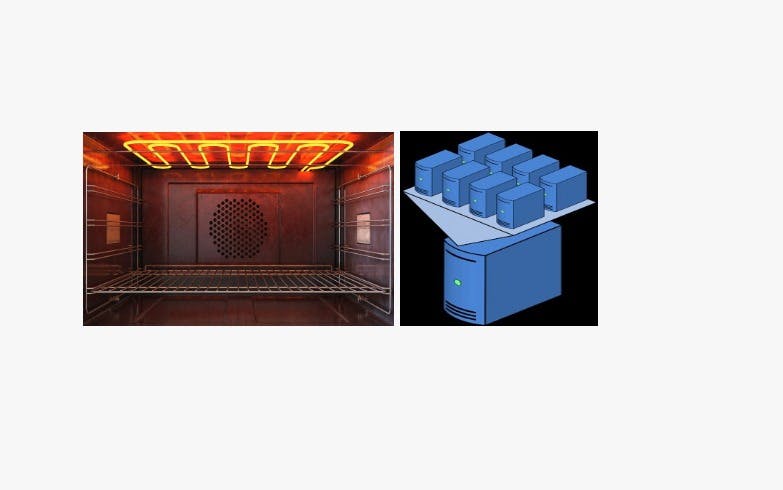 In this step, I am using an Oven burner to the left of the diagram to compare with a Virtual Machine to the right of the diagram.
You may ask what the comparison is between them. In baking, an Oven burner is where all the cake pans are kept to bake. So, how does that relate to a Virtual Machine?
In this step, I am using an Oven burner to the left of the diagram to compare with a Virtual Machine to the right of the diagram.
You may ask what the comparison is between them. In baking, an Oven burner is where all the cake pans are kept to bake. So, how does that relate to a Virtual Machine?
Well, the answer to that is simple, the Docker Containers in the previous step representing the cake pans, are kept on a Virtual Machine. Therefore, you can have multiple Docker Containers on a Virtual Machine like you can have multiple cake pans on an Oven Burner.
So simple right? Let's move to the next step in the Docker Architecture.
Step 4
 This step is where you have the host machine, as usual, I will compare the Oven you can see from the diagram to the Host Machine.
In the Oven, you have your burner which represents the virtual machine, while in the Docker architecture, you have the Host Machine where the virtual machine is located.
Step 5
 Now, your cake is baked and ready to be tasted and consumed(eaten), or delivered to customers.
Your Docker images are also ready to be tested, and deployed into production for use.
Now, your cake is baked and ready to be tasted and consumed(eaten), or delivered to customers.
Your Docker images are also ready to be tested, and deployed into production for use.
This is done is by uploading the Docker images to a Cloud Service called Registry. Registry is a storage and distribution system for Docker images. A popular registry is Docker Hub, where anyone can pull the image and build a container.
How Docker Solves the Problem of Inconsistency in Computing Environment in SDLC
Before the implementation of Docker, Developers had the problem of not having a consistent computing environment throughout the Software Development Life Cycle. In the sense that, Developers would build applications that worked with no errors in the development environment, but as soon as they push the applications to the production environments, they notice the application has errors or does not work the way it ought to.
Docker fixes this problem via its Docker Containers that contain the application's requirement to run, which is used throughout the SDLC in order to provide consistent computing environment.
Steps to Understand Docker in More Detail
- Dockerfile builds a Docker image and that image contains all the projects' code.
- Run the image to create as many Docker containers as you want.
- The image can be uploaded on Docker Hub.
- From Docker hub, anyone can pull the image and build a container.
Additional Definitions of some Docker Components
Dockerfile is a file that contains instructions to build a Docker image.
Docker image is a read-only template that contains a set of instructions for creating a container that can run on the Docker platform.
Docker hub is a Cloud Service or Registry that serves as a repository for Docker images, which could be public or private repositories. Where, Docker images can be deployed to and pulled from.
Next, I will define the basic commands you'd come across while creating a Dockerfile, Docker Containers and building Docker images in the tutorial below.
Building a Nodejs application with Docker and Nginx with examples
In this tutorial, the first thing we will do is, build a simple nodejs app that displays a text on a browser using express as a dependency. Now let's get to it.
Prerequisites
- You need Nodejs installed (you can refer to this link for installing nodejs).
- You need a Linux Operating System(preferably Ubuntu).
- You need Docker installed (you can refer to the link for installing Docker https://docs.docker.com/get-docker/).
- Create an account on Docker Hub
- Install Nginx
- A working Linux terminal.
- A Code editor (preferably Visual Studio Code).
To build the simple nodejs application that displays a text, follow the steps listed below:
- Create a directory/folder for the application on your system.
- Open the directory/folder in your code editor.
- Cd(Change Directory) into the application and run
npm init -yto initialize the project and create apackage.jsonfile. - Next, install
expressas a dependency withnpm install express --save - Create a file in your application's directory, you can save it as
app.js. - In the
app.jsfile, type the following code in it:
const express = require("express");
const app = express();

const PORT = 8080;

app.get("/", (req, res) => {
    res.send("Hello World");
});

app.listen(PORT, () => {
    console.log(`App running on ${PORT}`);
});
- In your
package.jsonfile, place this"start": "node app.js"in the scripts object."scripts": { "start": "node app.js" }, - Next, run
npm startin your terminal. You should see this on your terminal to show that your application is running locally.
- Confirm that your application works by pasting this url
http://localhost:8080/on your browser. You should see 'Hello world' displayed on the screen.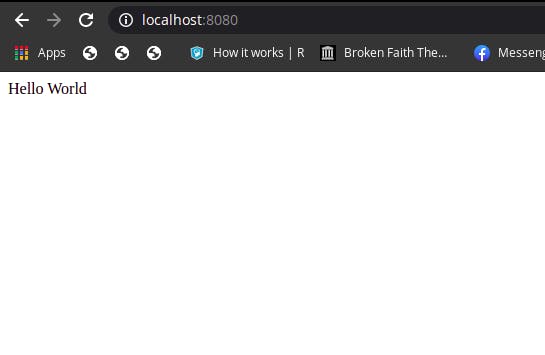 Your application is up and running.
Build a Dockerfile
The next thing to do is build a Dockerfile, like I mentioned earlier in my explanation of Docker, the Dockerfile contains instructions on how to build your Docker image.
- In your application's directory, create a file and save it as
Dockerfile - Write the following command statements or instructions in the Dockerfile:
The very first thing you do when creating a Dockerfile, is declare which Docker image you are using to build the container. To achieve this, you use the
FROMkeyword followed by the name of the Docker image you are either pulling from the Docker Hub or any other Registry.FROM nodenodeDocker image which can be found in Docker hub. - Next, define your working directory for your application with the
WORKDIRkeyword and the path/usr/src/appWORKDIR /usr/src/app - The next thing you do is copy your
package.jsonfile and use a wildcard*to ensure that bothpackage.jsonandpackage-lock.jsonfiles are copied. To achieve this, use theCOPYkeyword followed by the file that contains all your application dependencies, which in this case, is thepackage.jsonfile.COPY package*.json ./ - Next run npm install, with the
RUNkeyword which will install all the dependencies for your application as defined in thepackage.jsonfile you just copied in the previous step.RUN npm install - Next, copy what you have in your local file or directory from your system (the machine building the Docker image) into the Docker image itself with the
COPYcommand followed by two dots. ., with the first.representing the source and the second.representing the destination.COPY . . - Next, you need to tell Docker which
portto listen to at runtime. Use theEXPOSEkeyword or command to specify theportyour application listens to which is port8080.EXPOSE 8080 - Finally, define the default command to be used when the Docker container runs with the
CMDcommand or keyword.CMD [ "npm", "start" ] - Exit out of the Dockerfile, in your application's directory, create a file and save it as
.dockerignorefile. In this file, you would place the name of the files you would not like to be deployed with your app to any cloud service. In your.dockerignorefile, specifynode modules, you are specifying node modules because they are the external modules that your application depends upon. Also, specify thenpm-debug.logfile that will let you know what went wrong if your package refuses to install or publish.node_modules npm-debug.log
Build a Docker image
In the previous steps, you created a Dockerfile, and in this Dockerfile, you defined instructions to be used to build your Docker image. Now, in this step, I will show you how to achieve this.
To build a Docker image, you need to run a command; docker build and you can add additional flags like the -t flag that tells Docker to allocate a virtual terminal session within the container, followed by the name of your app and a dot . that tells docker that the dockerfile that has to be used is in the current directory.
So, within your terminal, still in your application's directory, run this command below to build your Docker image:
docker build -t <name of your app> .
NB: you may be required to log in as a superuser to be able to run the Docker command. So, you can precede your command with sudo.
Once you run that command, it would begin to run all the commands/instructions you defined in your Dockerfile beginning from the first command to the last.
To confirm that your Docker image has been built, run this command; docker images. This command will give you a list of all the Docker images on your system.
 From the above screenshot, you can see that the Docker image,
 node has been successfully added to your Docker images.
You have successfully built your image. In the next step you will learn how to run your Docker container based on that Docker image.
NB: Whenever you build a Docker image, you can build a Docker container from it by using the
docker runcommand.
Run the Docker container from the Docker image
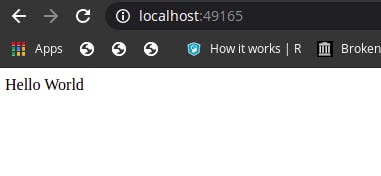
Your Docker image is your application running in an isolated environment. Here, you also need to map 8080 port of the container to port 49165 of the host machine. So, in your terminal, run this command below
docker run -p 49165:8080 -d <name of app>
If the command successfully runs, you will see an output of a long string of letters and numbers.
To check if this works, navigate to your browser and go to this url http://localhost:49165/. if you see this below image as the output on your browser, then it means your application works.
In addition, to check to see if your Docker container is running, run this command in your terminal docker ps and you will see the name of your container in the list of the containers running.
You could also stop your container from running if you wish with this command; docker stop <container id> and to check if your container successfully stopped running, run this command docker ps -a.
This will be the end of this section, where you learnt how to Dockerize an application.
Now, in the next section, I would show you how you can expose your docker ports to make your containers externally accessible.
How to expose your Docker ports to make your Docker Containers externally accessible
To make your Docker containers externally accessible, you can use Nginx which is an HTTP and reverse proxy server, a mail proxy server, Click this link to know what Nginx is.
Below are the List of the steps to deploy Nginx in a Docker container:
- First, remove the Docker image with this command:
sudo docker rm <name of image>. - Next, you need to get the Nginx Docker image with this command
sudo docker pull nginx. Confirm that Nginx Docker image has been downloaded by running this commanddocker ps -a - Run the Nginx Docker container with this command below:
Use the
--nameflag to specify a name for the Container, use the-pflag to specify the format of the port you are exposing which islocal machine port:container portwith thenginxDocker image. Then, run this command below;
docker run --name nginx-container -p 80:80 nginx
To check if this is working, navigate to your browser and paste your IP address. You would see this displayed on your screen

Note that, if you use the
ctrl ccommand in your terminal, and refresh your browser, you would notice it sayssite can not be reached. This is because Nginx is attached to your container image.
You need to run your Container separately, so do achieve this, I have listed the steps in the next section.
How to Run your Nginx Container Separately
- Remove the existing Nginx container with
docker container rm <container id> - Next, run the Docker image and create a new Nginx Docker container but in this case, use the
-dflag that allows your Docker container run separately. Run this command below
sudo docker run --name nginx-container -p 80:80 -d nginx
To check if the Docker container was created, run this command docker ps and you should see your container listed in this manner below
 Next, navigate to your browser and go to your
 IP address and you should see this below displayed on your screen

You need your Nginx server to serve your own website files, but it serves its default site which is coming from its default configuration. To make Nginx serve your own website file, you need to configure Nginx so that the Nginx Docker container has access to your website files. This is what you will do in the last section of this article.
Configure Nginx to enable the Nginx Docker Container display your own website files.
- You can create a directory in the Docker container with
mkdir -p ~/nginx-container/html. - Then Change into the directory with
cd ~/nginx-container/html - You can create a file that will house the contents for your website with
vim index.html. Running this command will take you into edit mode, click theINSERTkey to enter into insert mode. - Type the following code in it;
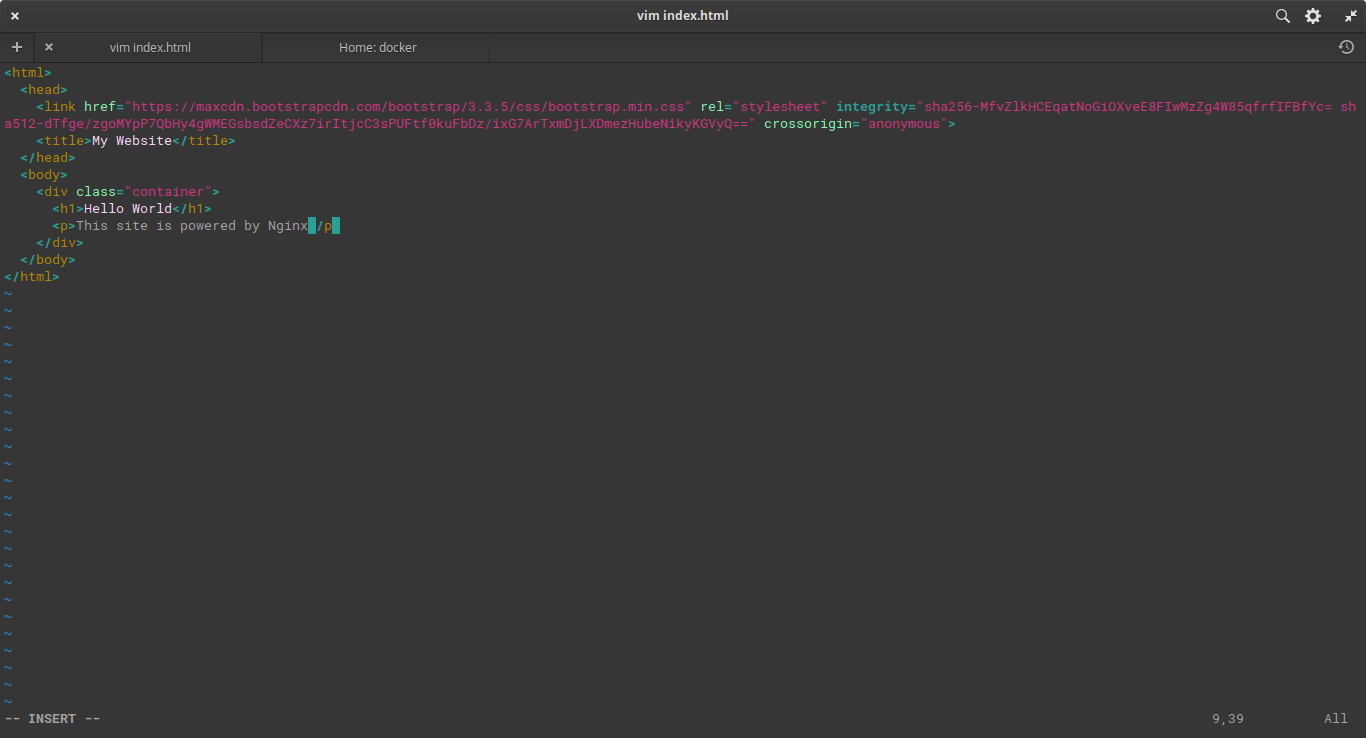 To exit the insert mode, click the
 esckey and type:wqto save the file and you will be returned to the terminal prompt. - So, back in the terminal prompt, you have created the file in your Nginx Docker container, the next thing to do is make that file accessible over the port 80. To achieve this, we need Docker’s data volumes to create a symbolic link between the website file at
/nginx-container/htmland the container file at/usr/share/nginx/html.
To achieve the above, run this command with the -v flag that will map the file in your local machine to the path in the Container.
sudo docker run --name nginx-container -p 80:80 -d -v ~/nginx-container/html:/usr/share/nginx/html nginx
Note that, if you have been following the tutorial, you may have to stop the container from running with this command
docker container stop <container id>and remove the container withdocker container rm <container id>. To see the container id, run this commanddocker ps.
To check if your container runs, navigate to your browser and type your IP address
You should see the content of your file displayed on the screen.
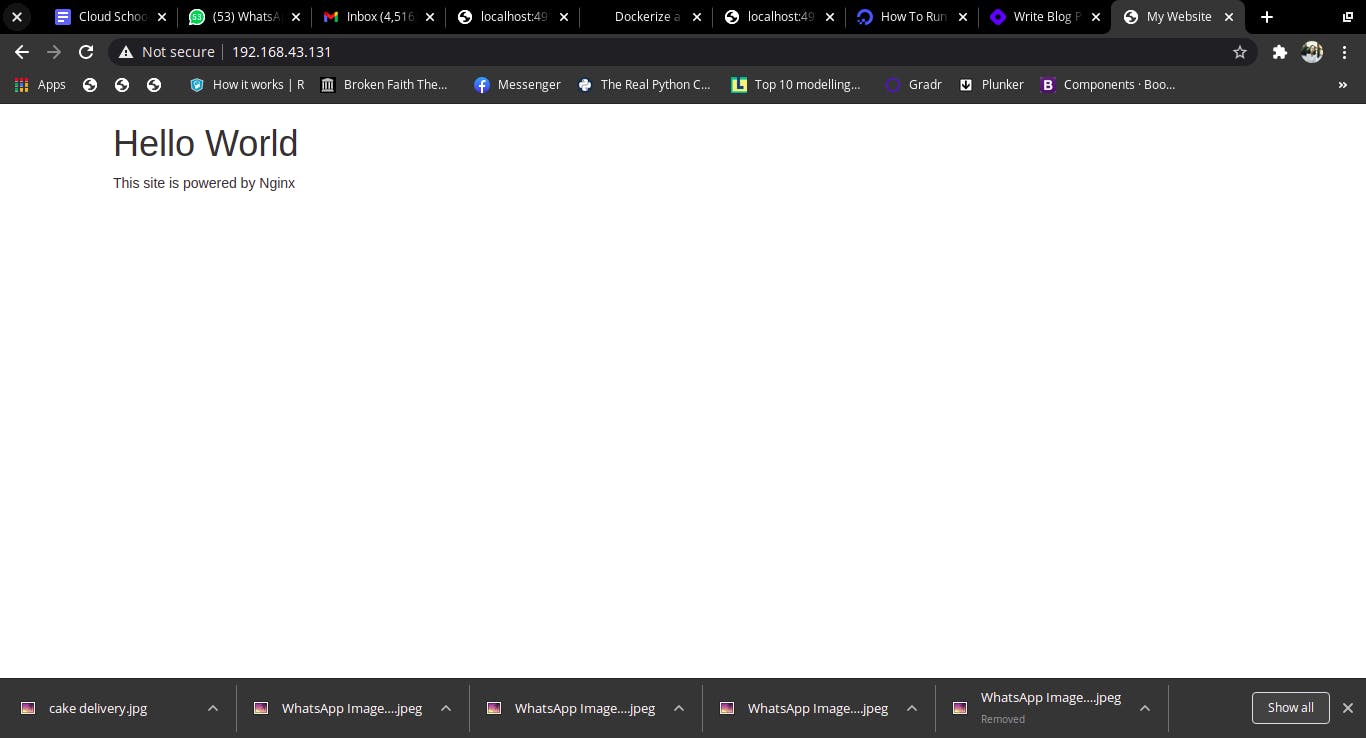
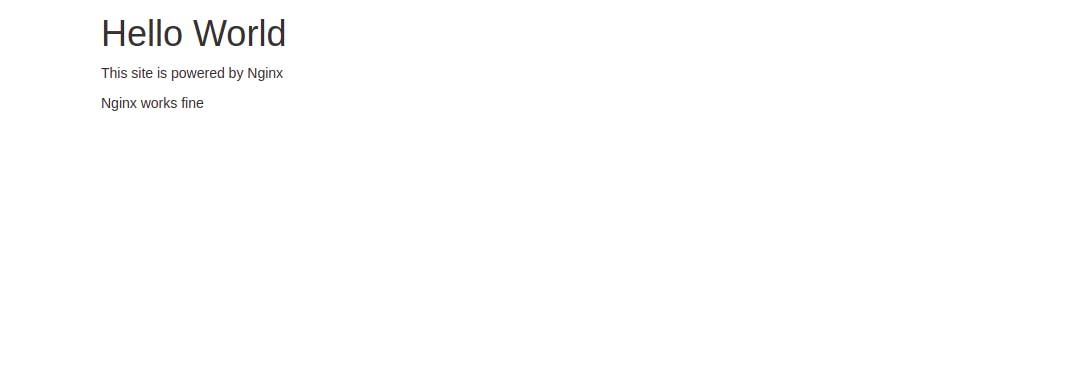
Try editing the index.html file by adding some p tag, you will notice that it automatically updates your website.
- Add a paragraph with
<p>Nginx works fine</p>to theindex.htmlfile: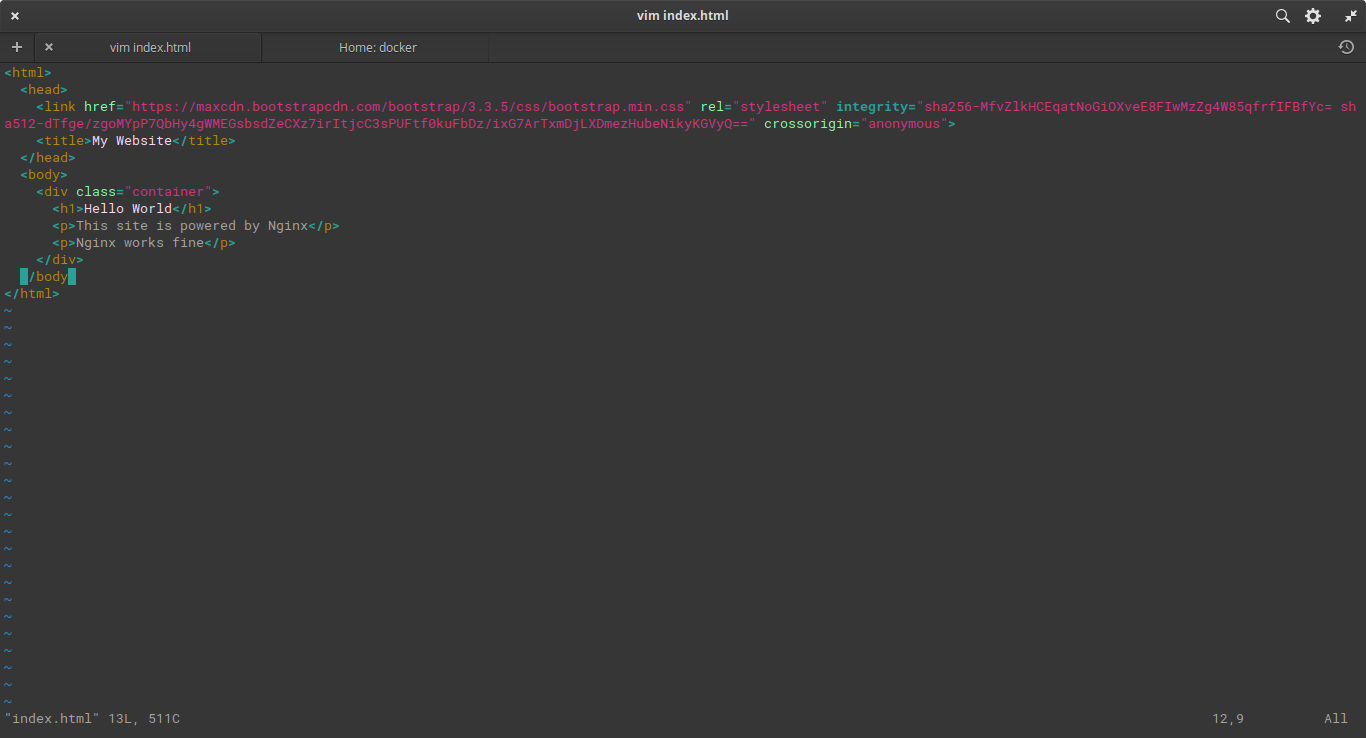
- Then refresh the website and notice the changes. It should look like this;
Conclusion
You have come to the end of this article, where you must have learnt:
- What Docker is.
- The Docker architecture and workflow explained with a Cake preparation method.
- Using Docker in a Nodejs application.
- Using Nginx in a Nodejs application.
- Exposing your Docker ports to make your Docker Containers externally accessible.